I. Basic introduction
LBM relighting, as a tool for AI image relighting, only requires you to provide a picture of the subject and a picture of the environment, and it can relight the subject according to the light source on the environment picture, which can really achieve the perfect integration of the character and the background, and also 100% retain the original picture quality.
The picture below shows the actual results from my run (specifically)Workflow(See end of text).

Here are a few sample lighting effects from the official website, with very good integration of light sources and objects.
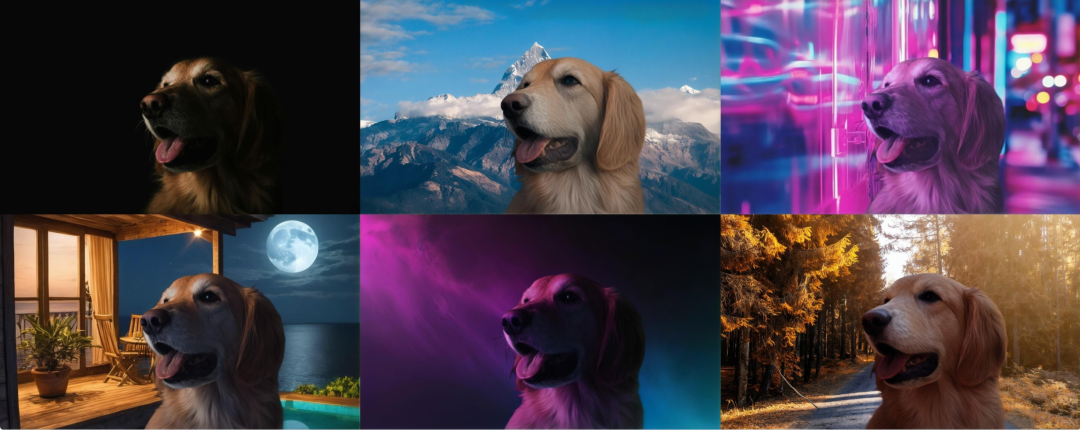
Project address: https://github.com/gojasper/LBM
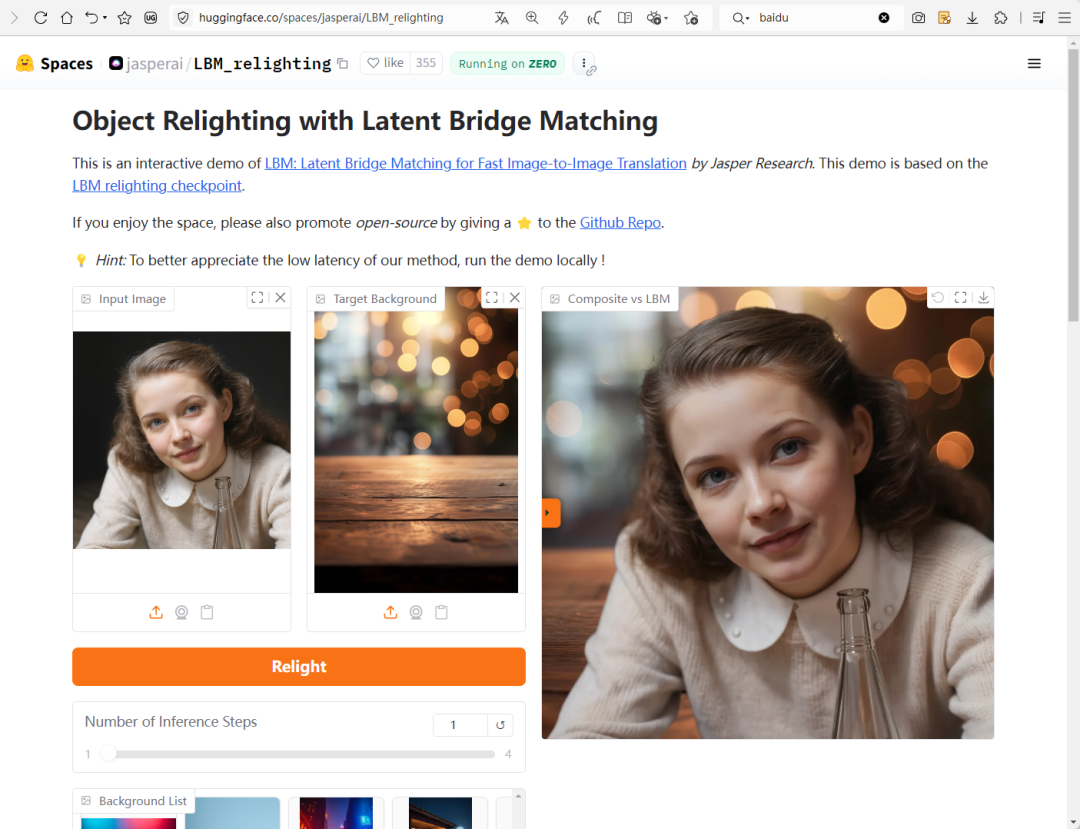
Use the address online:
https://huggingface.co/spaces/jasperai/LBM_relighting
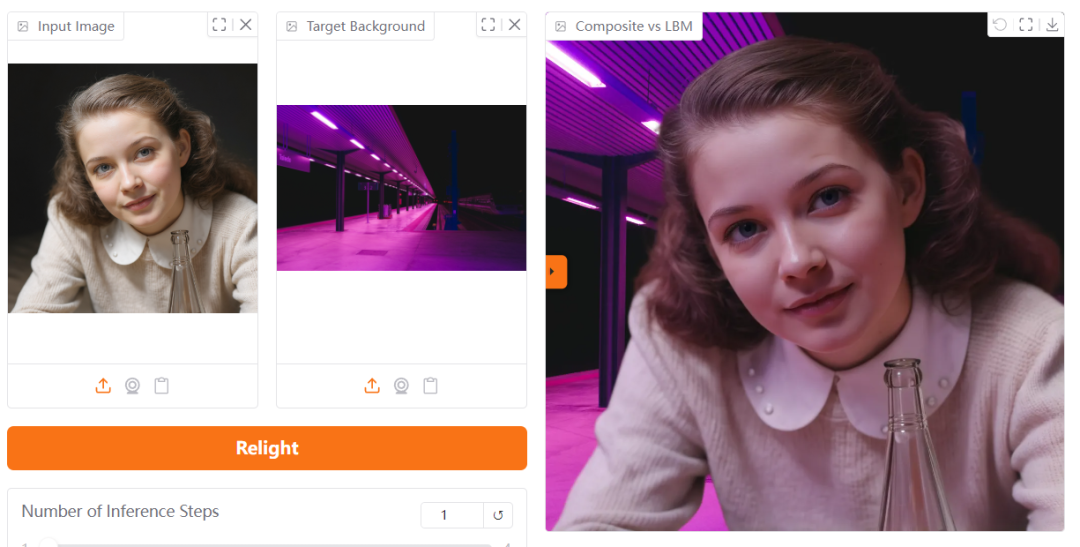
Here you are allowed to upload a picture of the subject that needs to be re-lighted and then an environment picture. If you don't have an environment image, you can also choose one yourself from the environment images provided by the system.
Two,ComfyUIMethods of use in
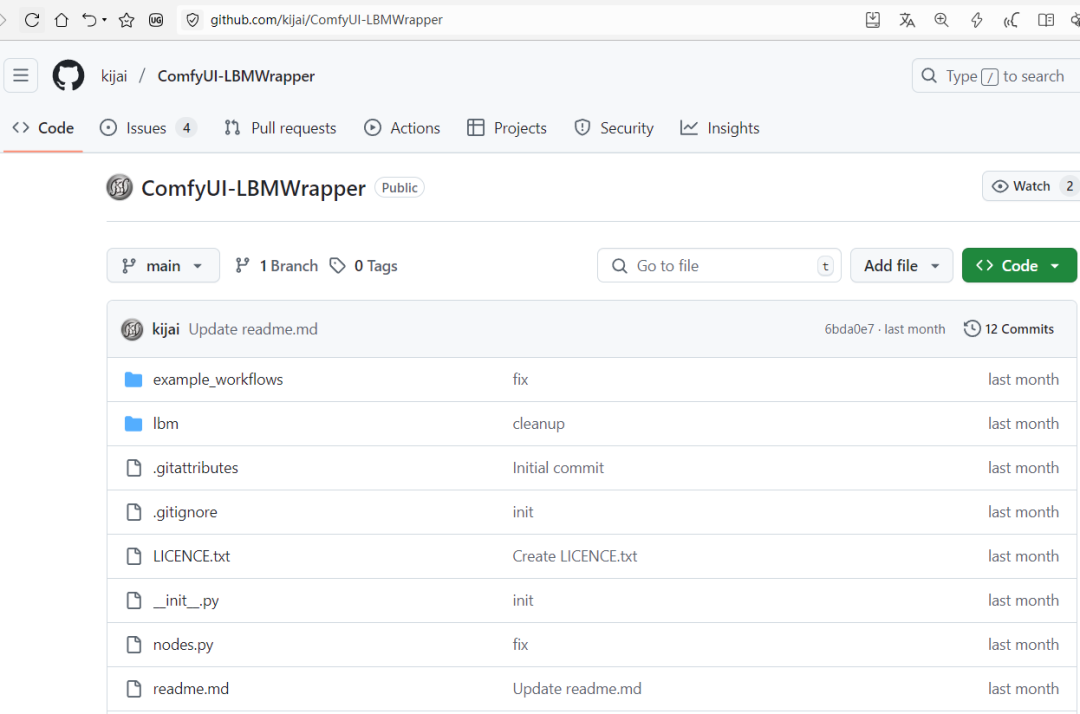
1、Install the plug-in: ComfyUI-LBMWrapper
Plugin Address:
https://github.com/kijai/ComfyUI-LBMWrapper
See the article for details on how to install the plugin:
2. Installation model
After the plugin is installed, you still need to install a model file
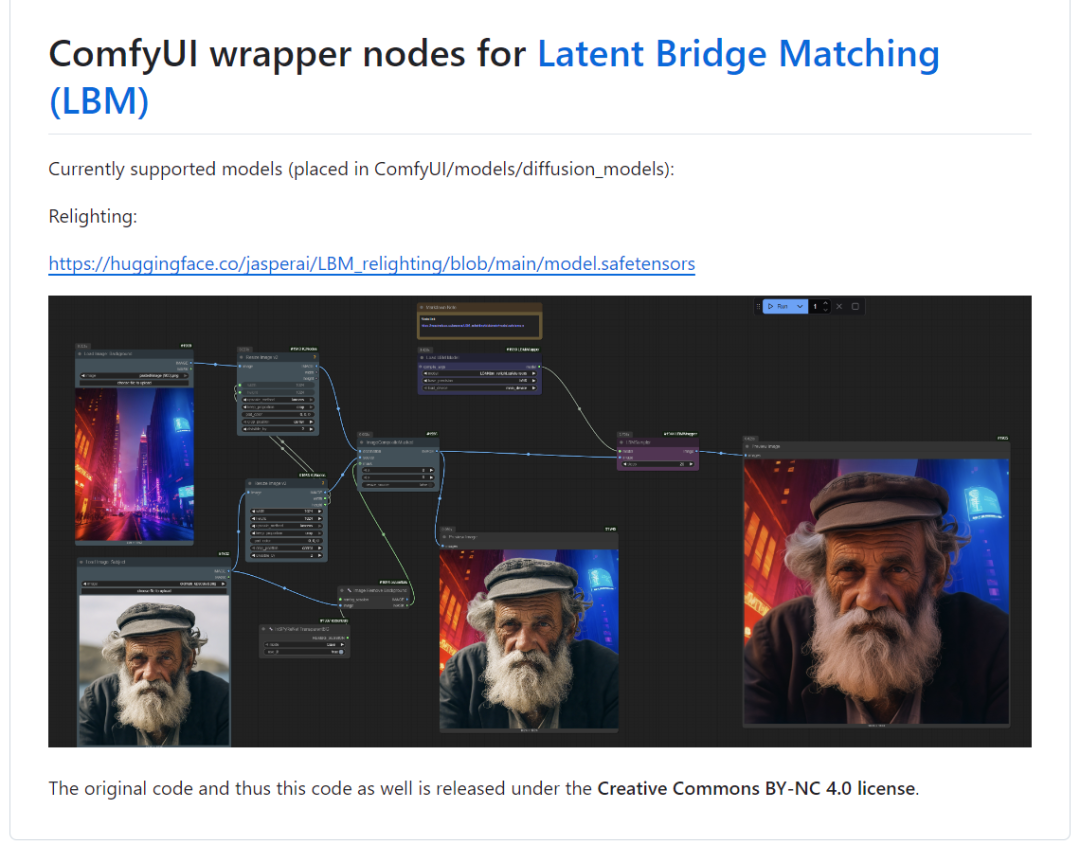
Model Placement Location:
ComfyUI/models/diffusion_models
Model Link:
https://huggingface.co/jasperai/LBM_relighting/resolve/main/model.safetensors
III. Workflow explanation:
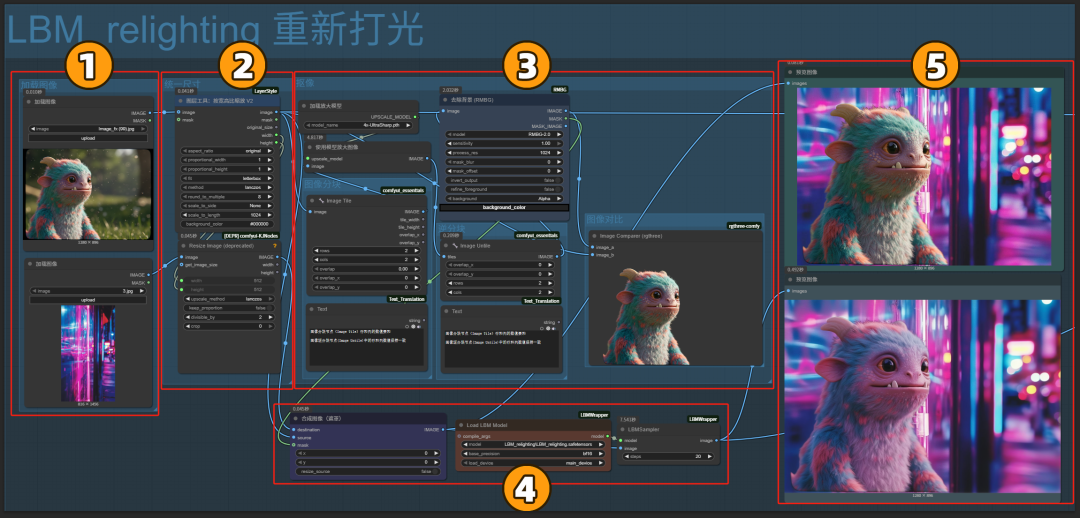
I've divided the workflow into 5 sections.
1. Image loading area
Here you need to load two images, the top image is the main image, which is the one that needs to be re-lighted, and the bottom one is the lighted image.
2、Size control area
The main effect is to unify the two image sizes, it will make the size of the light image forcibly match the size of the main image.
3. Keying area
Keys out the subject of the main image and adapts the lighting effects of the lighted image.
For more information on the use of keying workflows, see the article:
4、LBM_relighting重新打光区
Don't be careful to use the model we downloaded above.
5. Image output area
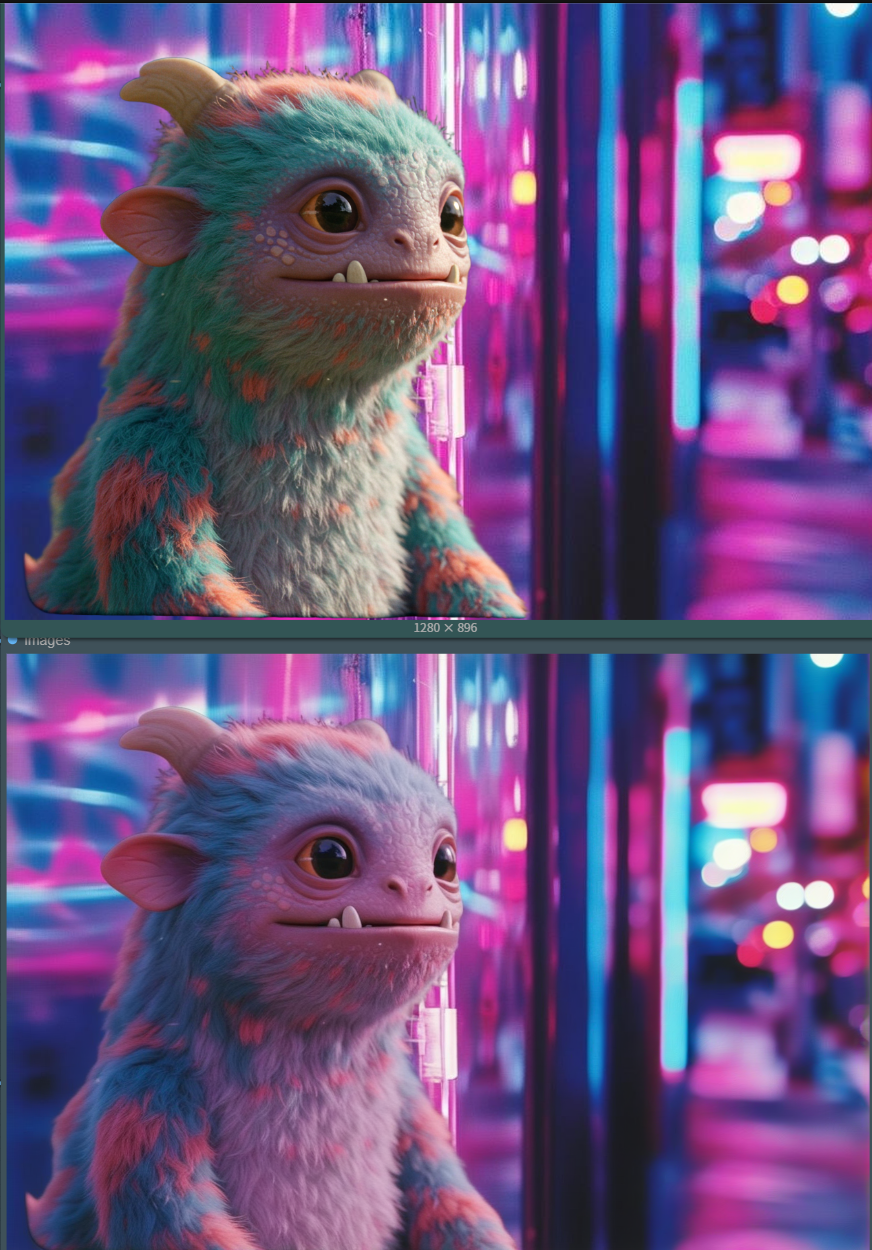
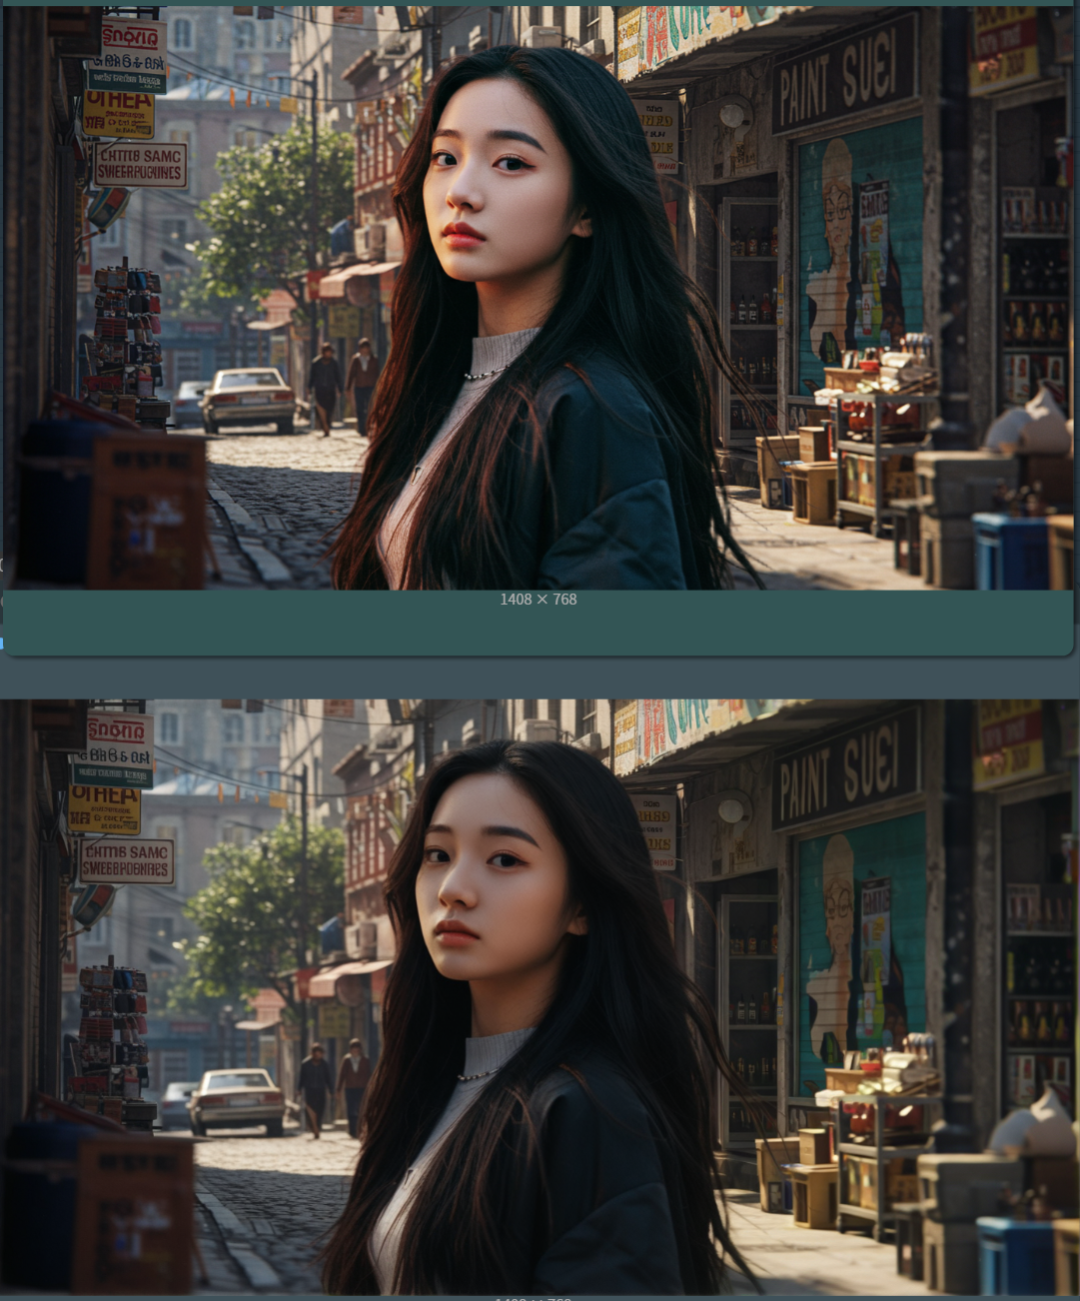
Two images are output here, the top one is the effect of hard compositing the keyed out subject with the lighted image.
It's the one below that shows the effect after re-lighting the subject.
Enlarged size for comparison. (The top one shows the effect of hard compositing, and the bottom one shows the effect after re-lighting)
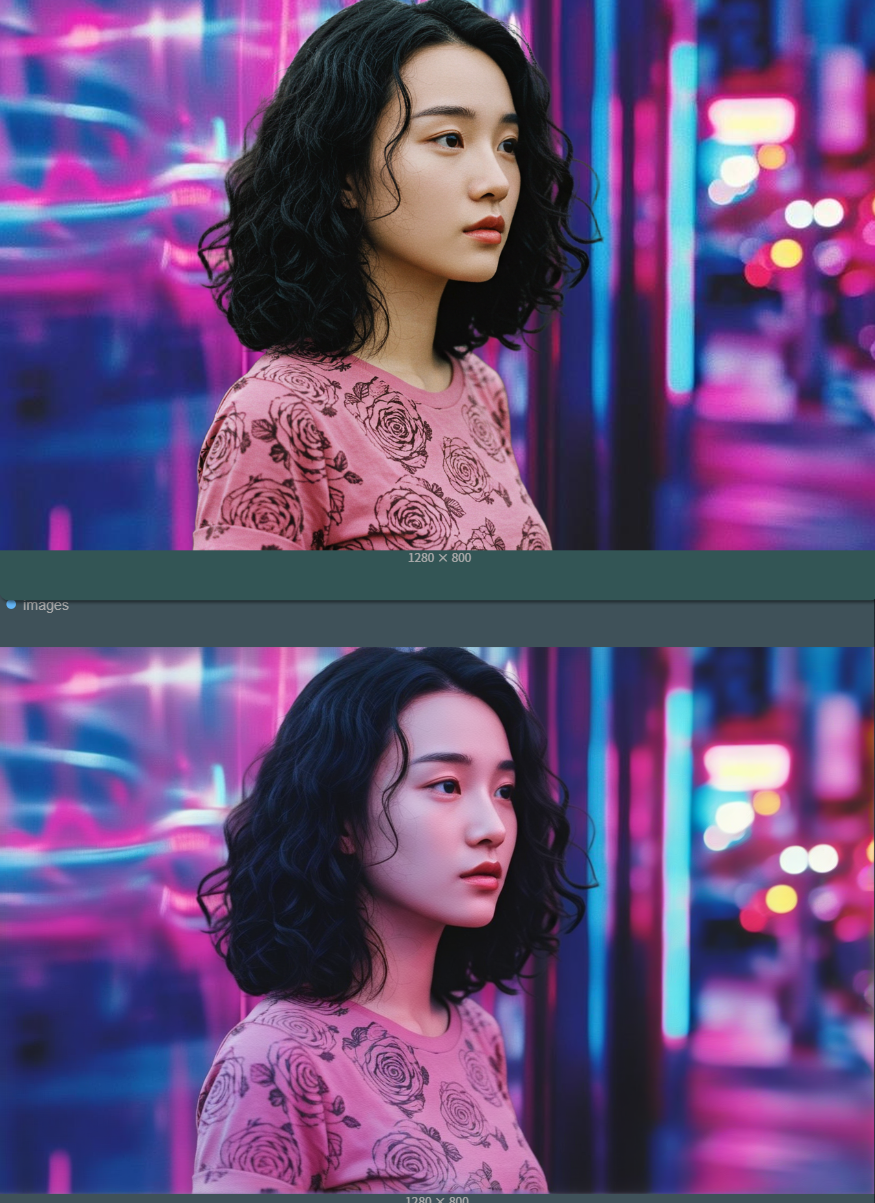
We tested it again with the same lighted image and portrait, and the results were good (hard composite effect above, re-lighting below)
Replacing the characters and also replacing the lighting effects to generate another one works well.
Interested students can test the free online workflow below or download the workflow locally for testing.
Free online workflow:
https://www.runninghub.cn/post/1934254001959690242